There are 3 things I needed to do to get the B550 MB to fit into the SC513 chassis:
- Cut the VR heatsink that mounts directly in front of the IO.
- Remove the audio jacks from the MB.
- Cut holes in the chassis that align with the IO connectors on the MB.
This blog is going to be more show than tell.
Cutting the Voltage Regulator Heatsink#
Here’s what the heatsink looks like after I removed it from the MB:
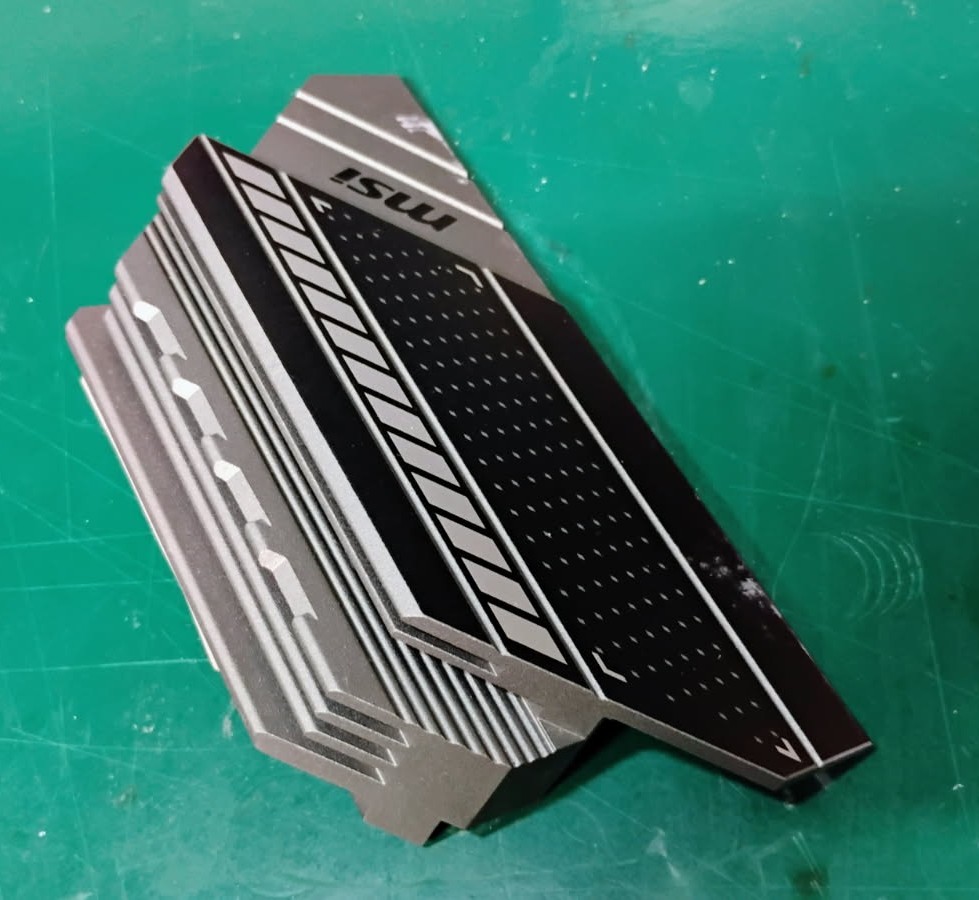
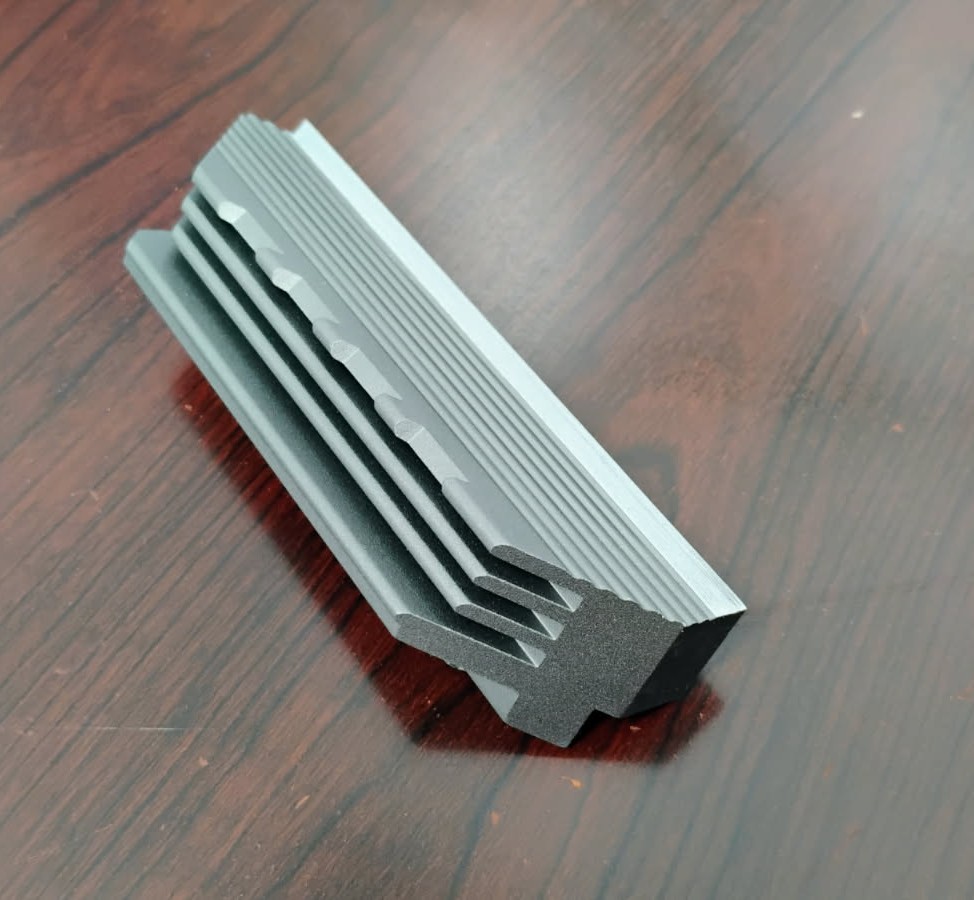
I cut off the top 2 fins with a hacksaw, then milled the surface flat and touched up the edges a bit so they weren’t that sharp. The system is not being stressed so much that these 2 fins really matter. It now looks like this:
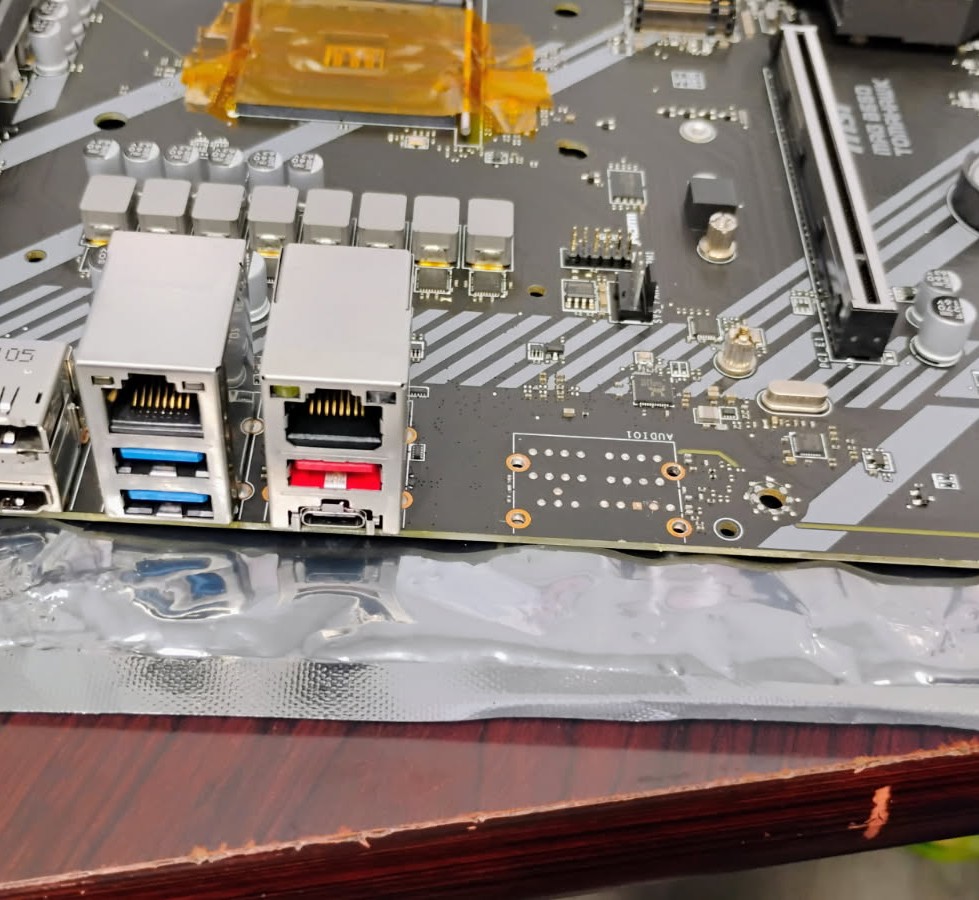
Removing the Audio Connector#
By audio connector, I mean this:
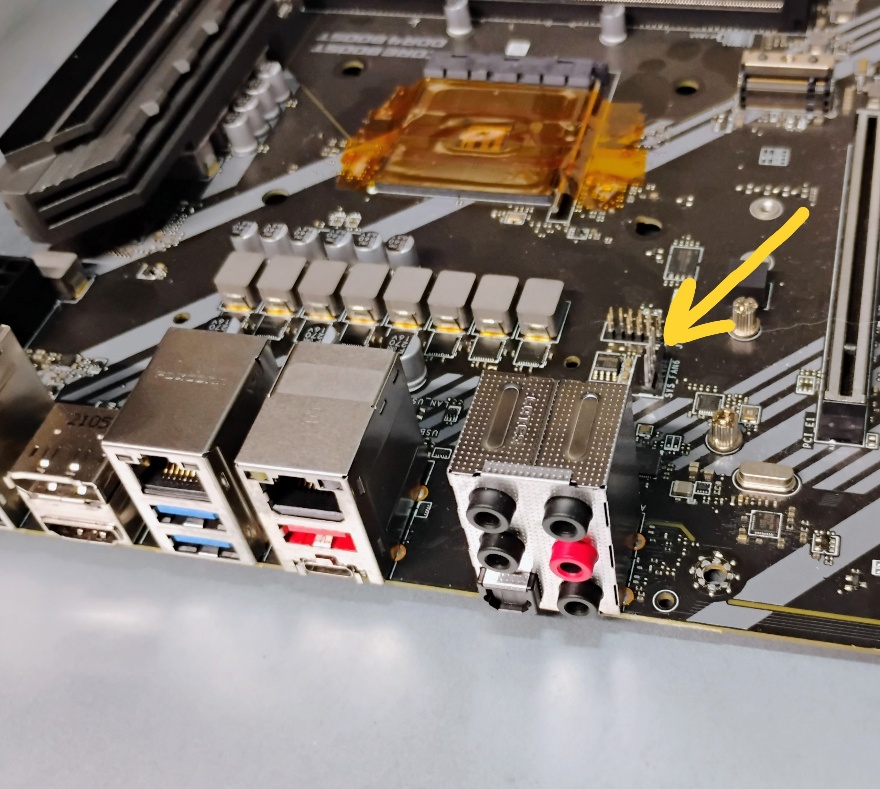
The reason to remove it is because it will just fit under the front panel lip however, the top latch is in the way. As shown here:
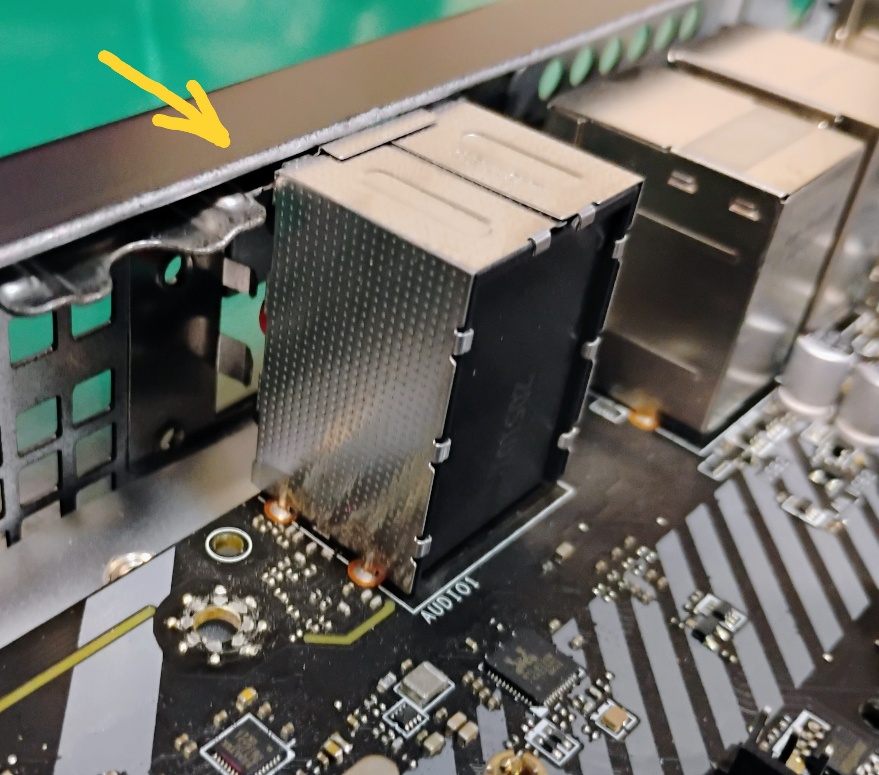
And since I don’t need it, I took it off. To get it off, I used a Dremel with an abrasive wheel and cut about a 1/8in from the PCB. Then pried off the remaining plastic, and used side cutters to trim all the remaining leads down to board level. I did use a soldering iron to remove the shield tabs. Now it looks like this:
Cutting up the Chassis Front Panel#
This was fairly straight forward using a nibbler as I only cut in openings for the farthest right group of connectors. This leaves the second from the right group of connectors covered and the video connectors partially covered but neither are not really needed. The front panel now looks a little Swiss cheesy, but the extra openings help with air flow, and with all of it being black you don’t notice too much. Yeah.
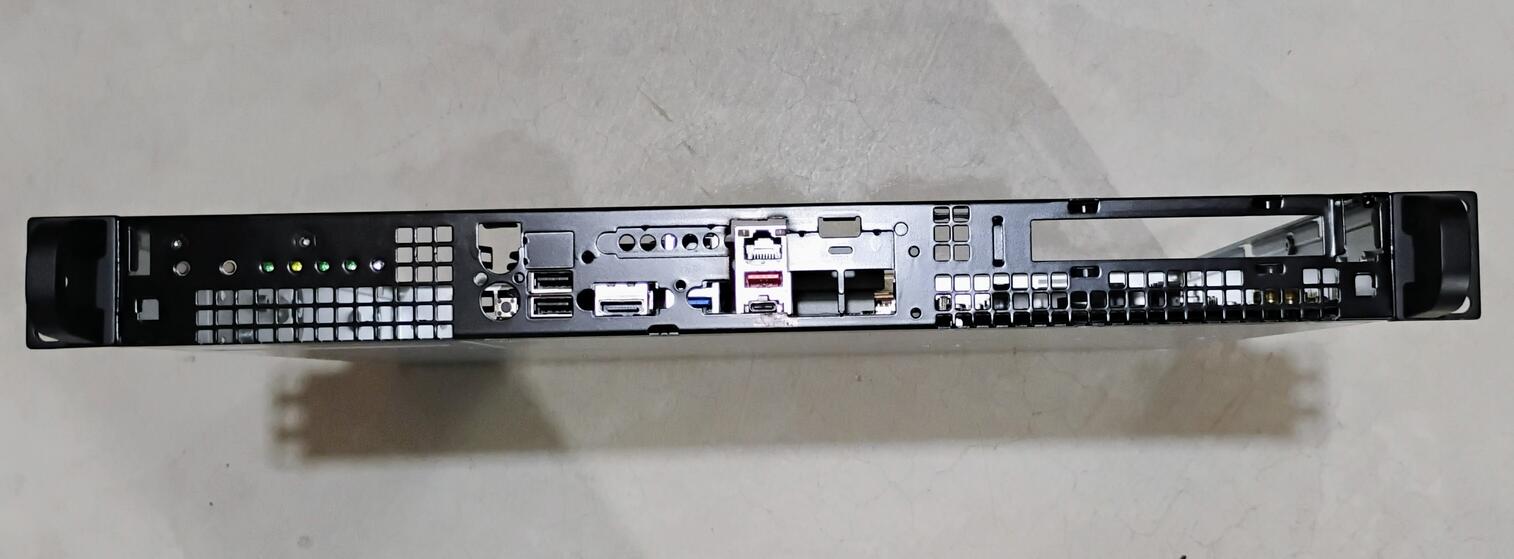
And finally, here’s a picture of the completed router sitting on top of the SX1024.

Thanks for reading. As always, comments and questions are welcome.
Comments
Loading comments…